Creating clay figures is an art form that uses polymer clay and special tools. It’s fun and rewarding, whether you’re new or experienced. It brings your imagination to life.
The world of clay modeling is full of possibilities. You can design details and create unique characters. We’ll show you how to make your own clay creations, from start to finish.
With sculpting techniques and the right materials, you can make lasting, beautiful pieces. Let’s explore the world of clay figure creation together.
Introduction to Clay Modeling
Clay modeling is a fun hobby where you shape clay into different shapes. To start, you need clay, tools, and a place to work.
The clay you pick is very important. Polymer clay is great for beginners because it’s easy to use and can be baked at home. Knowing about different clays and their uses is key.
You’ll need the right clay tools to shape and detail your models. You’ll need tools like shaping tools, cutting wires, and modeling tools. These help you get the shape and texture you want.
Learning different sculpting techniques can make you better at clay modeling. Techniques like coiling, pinching, and shaping are basic. They help you make various forms and designs.
When you start clay modeling, remember to keep practicing. Start with simple projects and then try harder ones. This will help you get better.
Choosing the Right Clay
Choosing the right clay is key to making great clay models. There are many clay types out there. Knowing their differences is important for success.
Polymer clay and air-drying clay are the most used clays. Polymer clay is loved by hobbyists for its versatility. It can be baked in a home oven and comes in many colors.
Polymer Clay vs. Air-Drying Clay
Air-drying clay is a traditional choice that hardens in air. It’s great for rustic or textured pieces. Unlike polymer clay, air-drying clay doesn’t need baking and is easy for beginners.
Think about your project when choosing between polymer clay and air-drying clay. For detailed work, polymer clay is better because it’s pliable and durable after baking. For a natural look, air-drying clay is better.

The choice between polymer clay and air-drying clay depends on what you want. Try both to see which you like best.
Knowing about different clay types helps you make better choices. This improves your modeling clay projects.
Essential Tools for Clay Modeling
Effective clay modeling needs the right tools. Having the right tools can greatly improve your clay models’ detail and intricacy.
First, it’s key to know the different tools for clay modeling. Sculpting tools help shape and mold clay. You can use simple items like toothpicks or skewers, or specialized tools like loop tools and ribbon tools.
Loop tools are great for smooth surfaces and removing extra clay. They come in many sizes for different effects, from broad strokes to detailed work.
Shaping tools are also vital for specific shapes and designs. Wire cutters are useful for cutting clay. Modeling tool sets have various shapes and sizes for different tasks.
“The right tool can elevate your clay modeling from simple to sublime.” –
When picking tools, think about the clay type and your project’s needs. For example, polymer clay might need different tools than air-dry or fired clay.
Experimenting with tools and techniques is key. As you get better with your tools, you’ll create more detailed and complex designs.
Preparing Your Workspace
To get the most out of clay modeling, setting up your clay workspace is key.
Make a clean and organized area. This lets you focus on your craft without distractions.
A good modeling workspace boosts your creativity and makes work flow better. It makes modeling more efficient.
When setting up your sculpting area, think about the space for tools and materials.
Make sure your work surface is strong and big enough for your project.
Good lighting is also important. It should be bright and even to help you see your work well.
Here are some tips to make your workspace better:
- Keep tools you use often close to save time and keep things tidy.
- Use storage containers for tools you don’t use as much, keeping them organized and out of the way.
- Keep your workspace clean by cleaning your tools and work surface often.
By following these tips, you can make a great clay workspace that helps you be creative and productive.
A well-organized workspace is not just about looks. It’s about creating a space that supports your art.

Basic Techniques for Clay Modeling
Clay conditioning and shaping are key to making great clay models. To get the best results, you need to know and use these basic techniques.Conditioning Your Clay is the first step. It involves kneading the clay to get rid of air pockets and make it softer. Start by kneading the clay with your hands until it’s soft and easy to work with.
If the clay is too dry, add a bit of water or a conditioning agent. This will help it reach the right consistency.
After conditioning, you can start shaping it into the desired form. There are many ways to shape clay, like rolling, pinching, and sculpting. The method you choose depends on the design you want.
Rolling is good for making uniform shapes. Pinching is better for adding details or making small features.
To shape your clay well, work in a well-lit area and use the right tools. Modeling tools help you get precise shapes and details. As you get better, try different techniques to find your own style.
Mastering clay conditioning and shaping will help you make beautiful clay models. Remember, practice is important. Don’t worry if your first tries don’t look perfect. With time and patience, you’ll get better and tackle more complex projects.
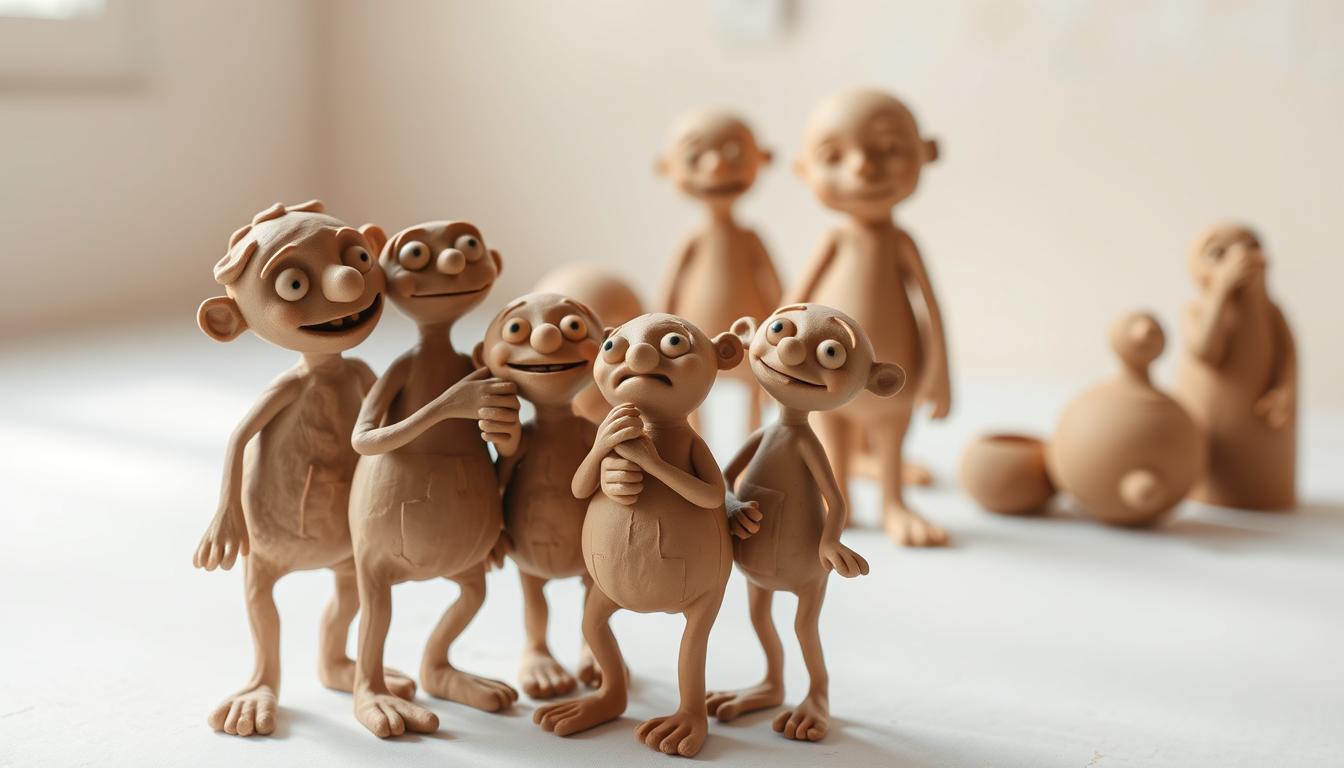
Creating Simple Clay Figures
The art of making clay figures starts with learning basic shapes. Knowing how to shape clay into simple forms is key. This skill helps you create simple clay models that look good and stand up well.
First, pick a clay type that’s right for modeling. Then, start with the basic shape of your figure. You might use a sphere, cube, or cylinder, depending on your design. For example, a human figure might start with a body shape like a cylinder and heads and limbs like spheres.

As you get better at shaping clay, add details. Use your fingers or simple tools to refine the shape. Add features like eyes, nose, and mouth for a face. Start simple and add more details as you go.
Tips for Creating Simple Clay Figures
Keep your design simple, at least when you’re starting. Don’t be afraid to try new shapes and designs. Practice is essential for getting better at making clay figures.
Also, work in a well-ventilated area and keep your tools clean. This makes the process more fun and helps you get better results.
By following these steps and practicing often, you’ll make many simple clay models. These will show off your creativity and skill.
Adding Color to Your Clay Figures
Adding color to your clay creations can make them come alive. The process of painting clay and finishing clay models needs skill and the right materials. But with practice, you can get professional-looking results.
When it comes to clay color, you have many options. You can use acrylics or enamels, each with different finishes and durability. Acrylic paints are popular because they dry fast and are versatile.
To get the right look, prepare your clay model well before painting. Make sure the surface is clean and dry. If needed, apply a primer for a uniform base coat. This is key for finishing clay models as it helps the paint stick better and last longer.
Tips for Painting Clay
When painting clay, apply thin coats of paint. Let each layer dry before adding the next. This avoids paint pooling or running, giving a smooth finish.
Try out different colors and techniques to find what works for you. Remember, the more you practice, the better you’ll get. So, don’t worry if your first tries aren’t perfect.
Mastering color on your clay figures can turn simple models into vibrant, eye-catching artworks.
Advanced Clay Modeling Techniques
To improve your clay modeling, you need to learn advanced clay modeling techniques. These skills help artists make intricate details and complex shapes. This makes their work stand out.
Adding intricate details is key in advanced clay modeling. You can use special tools for this. Loop tools and modeling tools are great for fine details.

Clay sculpting is more than just shaping clay. It’s about making it look right with texture and form. You’ll need to learn layering, blending, and carving for complex designs.
Getting better at advanced clay modeling takes practice. Try different techniques and tools. This will help you find what works best for your projects.
Tips for Achieving Intricate Details
To get fine details, use the right tools and keep your hand steady. A magnifying glass or digital microscope can help you see better.
Showcasing Your Clay Creations
Showcasing your clay creations is an art form that needs attention to detail. It’s important whether you’re a hobbyist or a professional. How you display your clay models can greatly impact how they are seen.
First, think about where you’ll display your clay creations. Natural light can make your models look better, but direct sunlight can cause damage. Try using softbox lighting or diffused natural light to show off your work’s details.
When taking photos of your clay models, a few tips can improve your images. Use a clean and simple background to focus on your creation. A tripod helps keep your camera steady, making your photos sharper. Try different angles and perspectives to show off your clay figures’ unique sides.
“The way you present your art can be just as important as the art itself. It’s about creating an experience for the viewer.”
Don’t forget about physical display options. Glass cases or shelves can protect your models and show them off. Think about the space you have and arrange your displays to encourage people to look closer.
By focusing on these details, you can make your clay creations a delight for everyone to see.
Caring for Your Clay Models
Keeping your clay creations in good shape needs careful attention and the right methods. Caring for clay models is more than just keeping them clean. It’s about keeping their shape and look over time.
Start by handling your clay models with care. Always support them from underneath. Avoid touching or handling the delicate parts. This stops oils from your skin from harming the clay and lowers the chance of chipping or breaking.
Proper storage is also key. Keep your clay models away from direct sunlight, moisture, and extreme temperatures. Use a display case or a sealed container to protect them from dust and accidental damage.
Regular maintenance is needed to keep your clay models looking great. Dust them gently with a soft brush. Avoid using chemicals or water, as they can damage the clay. By following these tips, you can enjoy your clay creations for years, keeping the memories and effort you’ve put into them alive.
By learning and using proper care techniques, you’re not just protecting clay creations. You’re also making sure they stay a vibrant part of your life.
Conclusion on Clay Modeling
Clay modeling is a fun and creative hobby. It involves shaping and molding clay into various forms. With the right tools and techniques, you can create detailed clay figures and sculptures.
Whether you’re using polymer clay or traditional clay, the possibilities are endless. This hobby requires patience, practice, and attention to detail. By mastering the basics and trying new techniques, you can improve your skills.
To keep improving, look for online tutorials, join a clay modeling community, or attend workshops. With dedication and creativity, you can make stunning clay figures that show your unique style. So, get creative and start sculpting your next masterpiece.